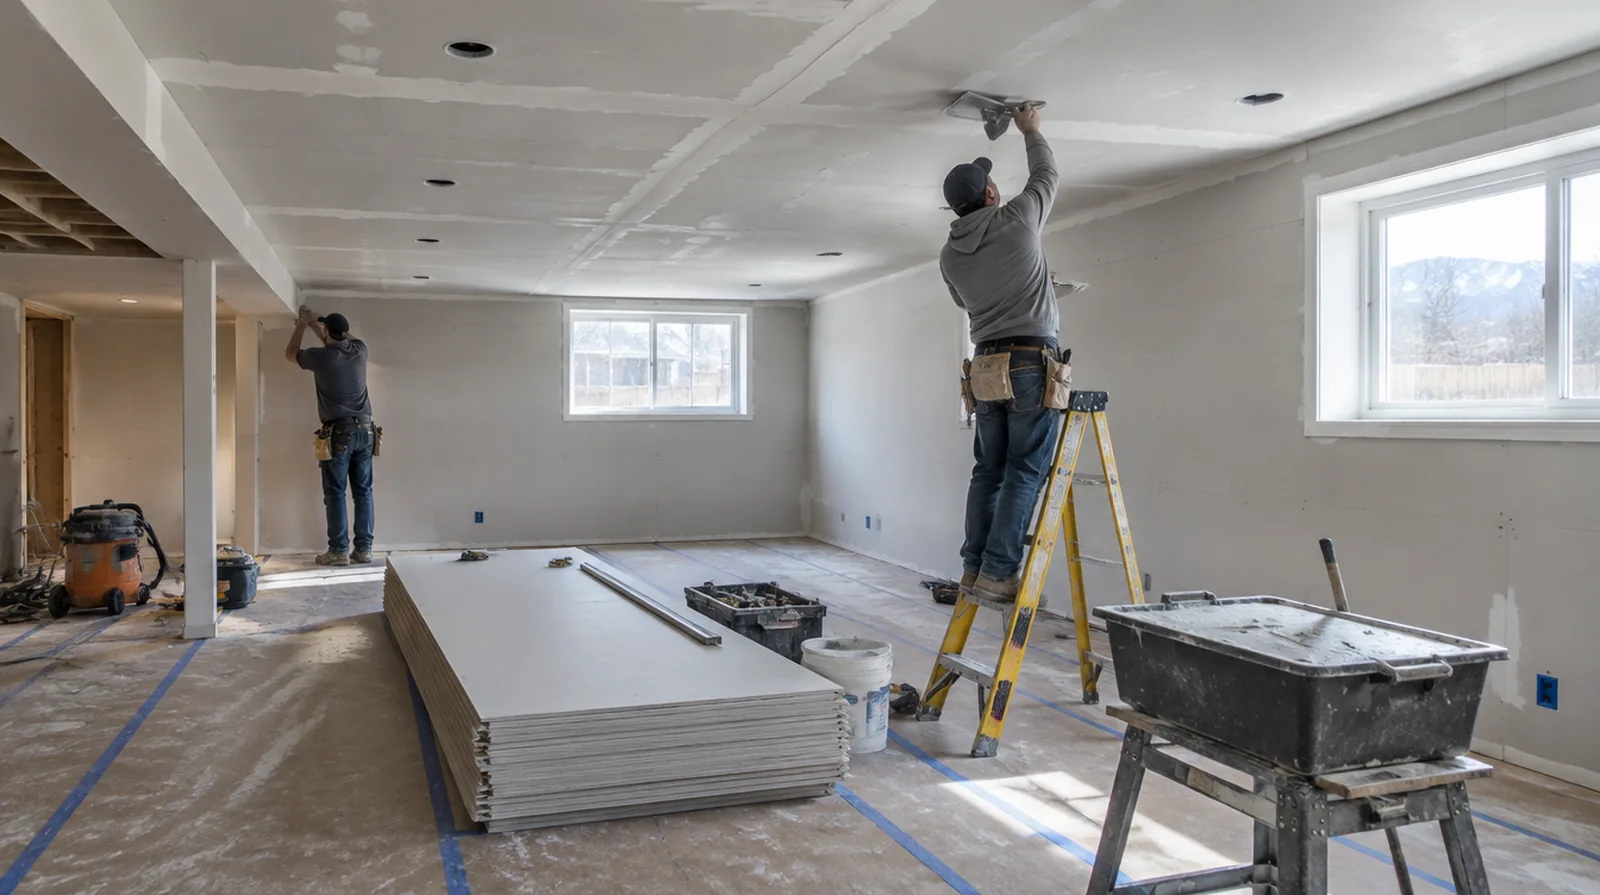
Discuss texture expectations
Determine whether the restored area should be smooth or carry an existing decorative pattern. An agreed sample can show the likely limits of a local texture blend before the full repair proceeds. If the wall work belongs to a broader renovation, coordinate its order with flooring, cabinetry and trim rather than scheduling finishing in isolation.
Set the repainting scope
A small fresh white patch can stand out against an older ceiling even when the surface is level. Painting to a natural boundary may be preferable to touching up only the repair. If the wall surface work belongs to a broader renovation, coordinate its order with flooring, cabinetry and trim rather than scheduling finishing in isolation.
Plan overhead access
Plan suitable overhead working access around the room height and its contents. Large fixtures and delicate flooring can influence setup time more than the size of the damaged spot. When panel replacement exposes a cavity, resolve any required inspection before that opening is closed and the surface finishing begins.
Address isolated stains
A dry repaired ceiling may still need a compatible stain blocking primer before decorative paint. Confirm that the source is no longer active instead of treating primer as a remedy for damp material. If the project is part of a larger remodel, settle the sequence with flooring, trim and cabinet work before setting a final finishing date.
Identify the existing surface
Check whether the overhead finish is gypsum board, plaster or a mixture of older layers. The repair method should match the actual construction instead of assuming every white surface is drywall. For a room that stays in use, set a workable boundary around construction while retaining the access people need for normal daily activities.
Review the room after drying
Inspect from the doorway and from positions near the windows once the finishing layers have dried. Identify outstanding paint preparation while protection and access are still available. When damage followed other building work, describe the nearby alterations and the sequence between those changes and the first visible defect.
Add reliable backing
A ceiling patch needs fastening support on its edges rather than relying on compound to carry its weight. Fit compatible board thickness so the old and new faces meet without an unnecessary step. When photographs are used for an initial discussion, include a wide room view as well as a close view so scale and surrounding finishes are understandable.
Cut back to sound material
A reliable replacement cannot depend on board that has lost strength through water exposure. The removal boundary should reach stable material and allow the replacement to be properly supported. Where a surface has been painted many times, consider whether differences in texture or sheen will require a wider decorative treatment.
Check the source of damage
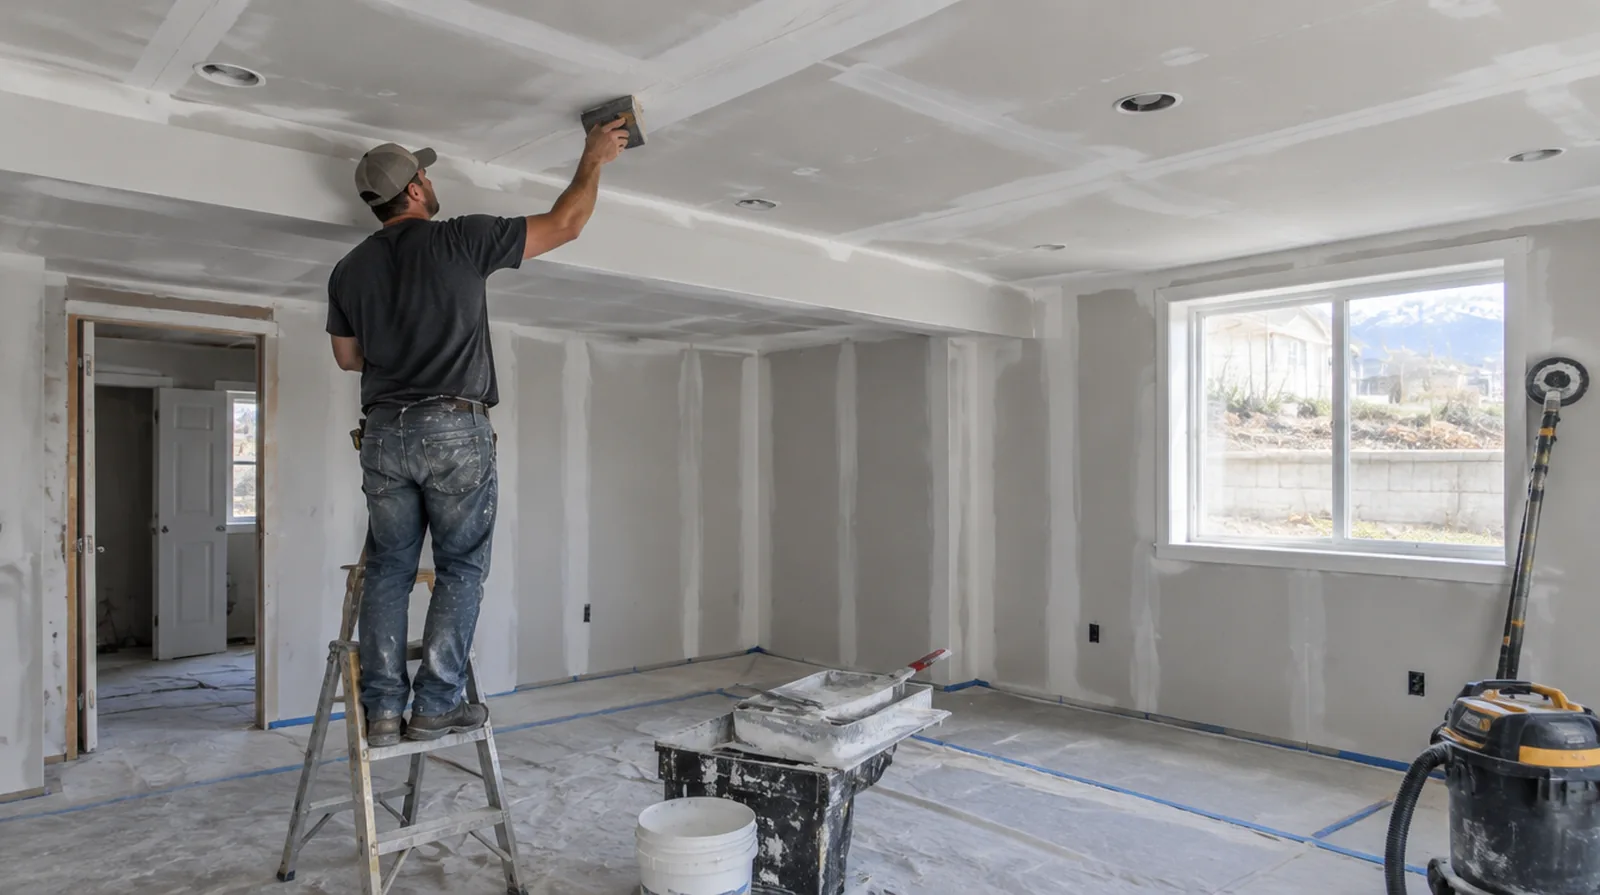
A ceiling stain or soft area may be caused by plumbing or another moisture source above the space. Resolve the source of moisture before relying on a decorative ceiling repair to remain sound. For a small repair with extensive setup, compare the total scope instead of assuming the price should follow the hole dimensions alone.
Treat the joints overhead
Tape and compound reinforce the patch boundary while successive coats build a broad shallow blend. Because windows often light ceilings obliquely, a narrow raised blend can remain conspicuous. Where a neat final edge matters, agree whether the finish ends against existing trim or whether that trim will be removed and replaced.
Project context in West Jordan
A clear plan for ceiling height around ducts helps avoid awkward soffits. Before boards go up, confirm that framing, insulation and any egress window work have been inspected where required.
Scope questions before finishing
For a surface that will receive wall covering, share the product requirements early so the finishing stage supports the planned decorative treatment.
When reviewing the finished work, use the agreed lighting and natural room viewpoints so the assessment reflects the intended use of the space.
If materials must cross common building areas, plan the protection and access route so other occupants are not needlessly obstructed by deliveries.
For a project involving a building manager, confirm access hours and protection requirements before promising a start date or a short completion window.
If the project is part of a larger remodel, settle the sequence with flooring, trim and cabinet work before setting a final finishing date.
When the same defect has returned, share information about previous repair methods so the next assessment can consider why they did not last.
For a room with restricted airflow, plan drying conditions alongside dust protection and the comfort of people occupying neighboring spaces.
When the protected room includes a doorway, check the clearance for panel movement as well as the amount of space available for finishing tools.
When a quote includes multiple visits, ask what happens during each stage and when the space needs to remain undisturbed between coats.
At the handover inspection, review the finish from ordinary room positions using the lighting conditions that were agreed for the work.
For an older repair with no clear history, describe when the mark first appeared and whether it has changed through more than one season.
For a repair that crosses several surfaces, measure the affected planes separately so the estimate can explain where each finishing treatment starts and stops.
Explore the West Jordan drywall overview for related options, or read the project planning information before arranging the next stage.
More planning details for West Jordan
West Jordan basements are a common place for new drywall, from family rooms to extra bedrooms. Window wells and stair turns limit how full sheets come down, so measure the path first. The dry Utah air helps compound set, but cold winter months can make an unheated lower level slow to dry.